-
Templates
1099 FormsAccurately report 1099 information returns and ensure IRS filing with easeExplore all templatesW-9 W-8 FormsEasily manage and share taxpayer details to streamline payments and meet IRS requirements with confidenceExplore all templatesOther Tax FormsFillable tax forms simplify and speed up your tax filing process and aid with recordkeeping.Explore all templatesReal EstateReal estate templates for all cases, from sale to rentals, save you a lot of time and effort.Explore all templatesLogisticsSimplify your trucking and logistics paperwork with our ready-to-use transportation and freight templates.Explore all templatesMedicalMedical forms help you keep patient documentation organized and secure.Explore all templatesBill of SaleBill of Sale templates streamline the transfer of ownership with clarity and protection.Explore all templatesContractsVarious contract templates ensure efficient and clear legal transactions.Explore all templatesEducationEducational forms and templates enhance the learning experience and student management.Explore all templates
-
Features
FeaturesAI-Enhanced Document Solutions for Contractor-Client Success and IRS ComplianceExplore all featuresAI Summarizer Check out the featureAI PDF summarizer makes your document workflow even faster. Ask AI to summarize PDF, assist you with tax forms, complete assignments, and more using just one tool.Sign PDF Check out the featurePDFLiner gives the opportunity to sign documents online, save them, send at once by email or print. Register now, upload your document and e-sign it onlineFill Out PDF Check out the featurePDFLiner provides different tools for filling in PDF forms. All you need is to register, upload the necessary document and start filling it out.Draw on a PDF Check out the featureDraw lines, circles, and other drawings on PDF using tools of PDFLiner online. Streamline your document editing process, speeding up your productivity
- Solutions
- Features
- Blog
- Support
- Pricing
- Log in
- Sign Up
N12 Form - Eviction Notice
Get your N12 Form - Eviction Notice in 3 easy steps
-
01 Fill and edit template
-
02 Sign it online
-
03 Export or print immediately
Filling Out Ontario N12 Form Step-by-Step
Suppose you're an Ontario landlord and need to reclaim your rental unit for personal use, family use, or for a caregiver. In that case, the N12 Form Eviction Notice is similar to N9 Form the official way to communicate this to your tenant. This process can feel a bit formal, but with this straightforward guide, you’ll be able to fill out and serve the notice correctly and respectfully.
Step 1: Preparation
Before you start, ensure that reclaiming the unit is for reasons allowable under the Residential Tenancies Act, 2006. These reasons include intending the property for use by:
- The landlord,
- A family member,
- A purchaser, or,
- A caregiver.
Have your lease agreement and tenant's contact information in hand. Understand the required notice period (typically 60 days).
Step 2: Completing the N12 Form
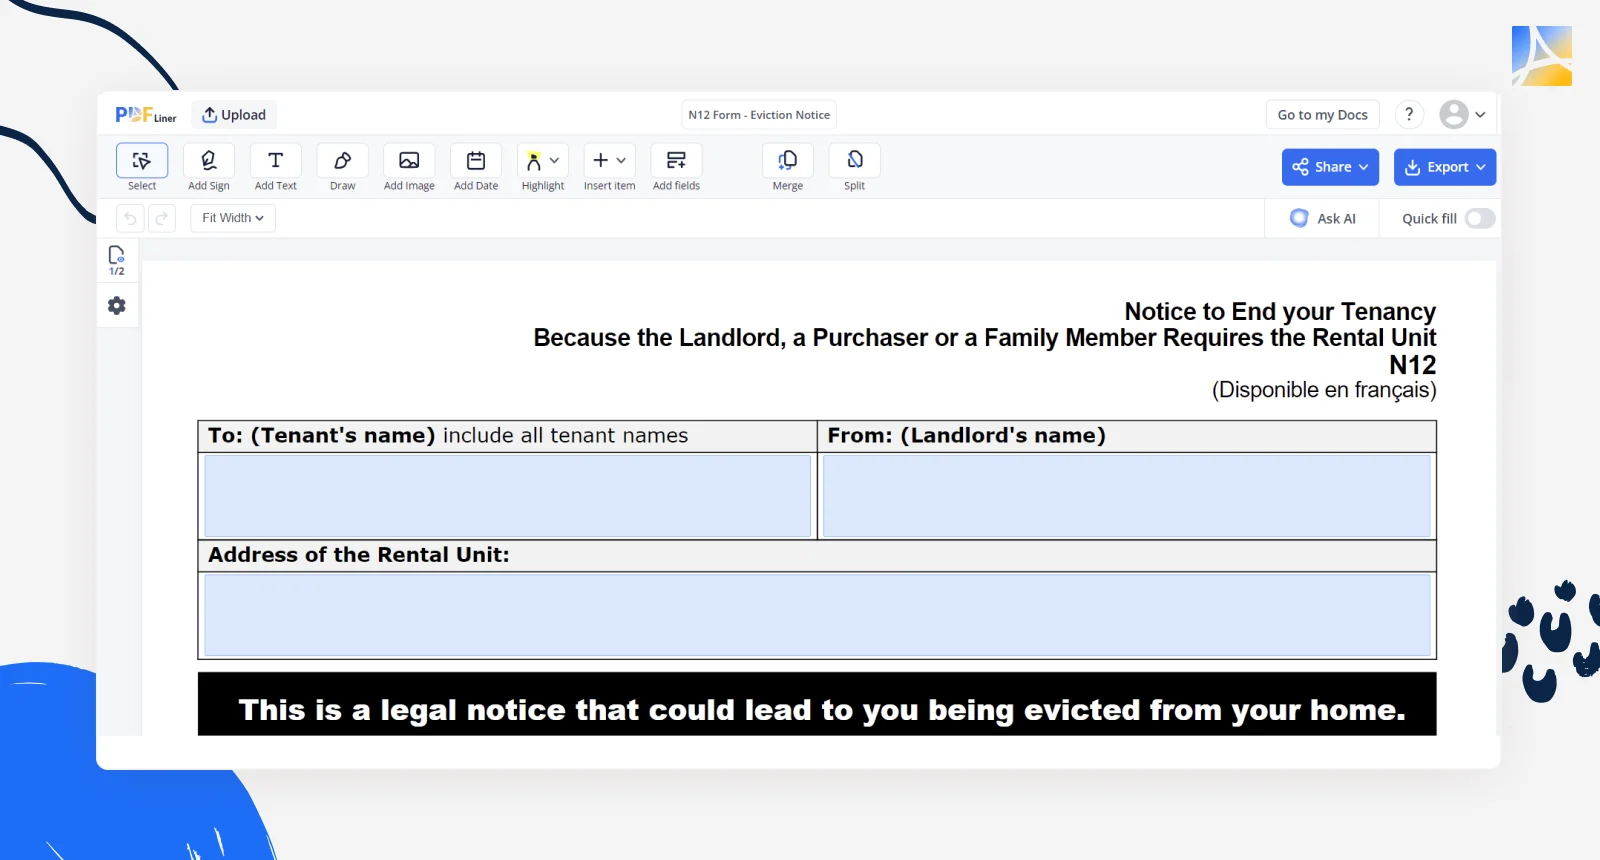
Part 1: Information about the Rental Unit and the Tenancy:
- Fill in the full address of the rental unit.
- Provide tenancy details, including the tenant's name and the lease start date.
Part 2: Reason for Ending the Tenancy
Select the appropriate reason for eviction as it relates to your circumstances. Be specific and truthful.
Part 3: Compensation
Ontario law requires landlords to offer the tenant another acceptable rental unit or compensate the tenant with an amount equal to one month's rent. Detail your chosen option here.
Step 3: Sign and Date the Form
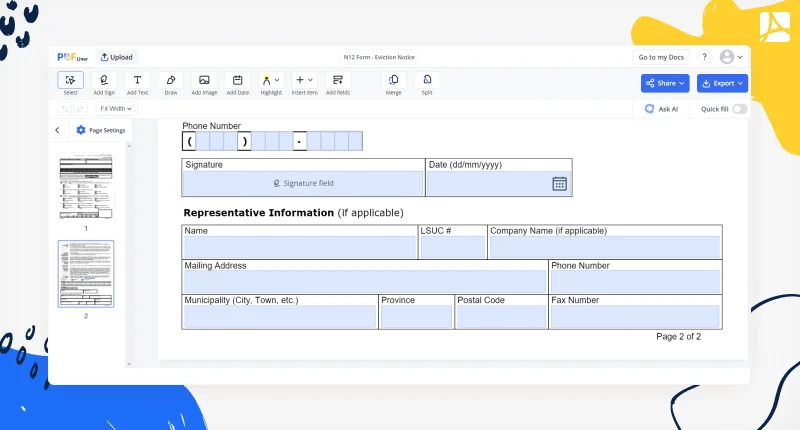
Ensure that you sign and date the form. Your signature is a declaration that the information provided is accurate.
Step 4: Sending the Form
The N12 form must be delivered to the tenant by hand, mail, fax, or any method where proof of delivery can be obtained. Record the date the notice was served to determine the eviction date.
Step 5: Filing with the Landlord and Tenant Board (Optional)
If the tenant does not vacate by the specified date, you may need to apply with the Landlord and Tenant Board to end the tenancy legally. The N12 form is a prerequisite for this step.
Final Advice:
- Keep a copy of the filled-out N12 form for your records.
- It's crucial to follow the process somewhat and respectfully, ensuring clear communication with your tenant.
Additional Tips for N12 Form
Review the form thoroughly before submission to avoid errors that could delay the process.
Consider consulting a legal expert if you're unsure about the process or your obligations. This guide aims to make the process of reclaiming your property as smooth as possible while ensuring that you adhere to the legal framework provided by Ontario's landlord and tenant laws.
1. Double-Check Tenant Information
Verify that the tenant’s full name and rental unit address are accurate. Misinformation can invalidate the notice.
2. Be Clear About Dates
Be precise with the move-out date you provide, keeping in mind the required notice period. Always count 60 days from the day after the notice is served.
3. Document Communication
Keep a log of all communications with your tenant regarding the notice for future reference. This could include emails, texts, or notes from phone calls.
4. Consider Delivery Methods Carefully
Opt for a delivery method that provides proof of receipt, such as registered mail or a service that requires a signature upon delivery. This proof can be vital if the notice is disputed.
5. Understand the Right to Dispute
Tenants can dispute the eviction notice by applying to the Landlord and Tenant Board within 30 days. Prepare to present your case, including reasons for the eviction and any relevant documentation.
6. Offer Assistance Where Possible
If feasible, consider offering help to the tenant in finding another place to live. This can include providing references or information on available rentals in the area.
7. Stay Informed on Legal Changes
Landlord and tenant laws can evolve, so regularly review the latest information on the Landlord and Tenant Board’s website or consider subscribing to updates.
8. Be Mindful of the Tenant's Situation
Delivering an eviction notice is challenging for both parties. Approach the situation with empathy, understanding that this news can be distressing.
9. Respect Privacy
During the notice period, remember to respect the tenant's privacy. Adhere to rules regarding notice before entering the unit, and avoid unnecessary visits.
10. Seek Professional Advice
If you’re uncertain about any part of the eviction process or if it becomes contentious, consulting with a legal professional experienced in Ontario’s rental laws can provide clarity and direction.
11. Conduct a Final Inspection
Arrange a final walk-through of the unit with the tenant, if possible. Document the unit’s condition and agree on any repairs or damages in writing.
Fillable online N12 Form - Eviction Notice


