-
Templates
1099 FormsAccurately report 1099 information returns and ensure IRS filing with easeExplore all templatesW-9 W-8 FormsEasily manage and share taxpayer details to streamline payments and meet IRS requirements with confidenceExplore all templatesOther Tax FormsFillable tax forms simplify and speed up your tax filing process and aid with recordkeeping.Explore all templatesReal EstateReal estate templates for all cases, from sale to rentals, save you a lot of time and effort.Explore all templatesLogisticsSimplify your trucking and logistics paperwork with our ready-to-use transportation and freight templates.Explore all templatesMedicalMedical forms help you keep patient documentation organized and secure.Explore all templatesBill of SaleBill of Sale templates streamline the transfer of ownership with clarity and protection.Explore all templatesContractsVarious contract templates ensure efficient and clear legal transactions.Explore all templatesEducationEducational forms and templates enhance the learning experience and student management.Explore all templates
-
Features
FeaturesAI-Enhanced Document Solutions for Contractor-Client Success and IRS ComplianceExplore all featuresAI Summarizer Check out the featureAI PDF summarizer makes your document workflow even faster. Ask AI to summarize PDF, assist you with tax forms, complete assignments, and more using just one tool.Sign PDF Check out the featurePDFLiner gives the opportunity to sign documents online, save them, send at once by email or print. Register now, upload your document and e-sign it onlineFill Out PDF Check out the featurePDFLiner provides different tools for filling in PDF forms. All you need is to register, upload the necessary document and start filling it out.Draw on a PDF Check out the featureDraw lines, circles, and other drawings on PDF using tools of PDFLiner online. Streamline your document editing process, speeding up your productivity
- Solutions
- Features
- Blog
- Support
- Pricing
- Log in
- Sign Up


W-9 Form
Download a blank W9 form or use our fillable W9 template to securely share your Tax Identification Number with clients. Our printable W-9 form ensures compliance while protecting your sensitive information.
Securely Share Your SSN with a Fillable W‑9
1. Fill Out W-9 Form
2 min
Fill in your information and Tax Identification Number (SSN or EIN).

2. Add Signature
30 sec
eSign form by clicking "Sign Field" at the end of Part II.

3. Send to your Client
30 sec
Click the “Send” button and opt to “Send via email” or download it as PDF.

Smarter Approach to Simplify Your 1099 Process
1. Request a W-9
1 sec
Hit the “Request a W-9” button to send the contractor a link to the fillable form and use our ready-to-go email template or draft a personal message.

2. Get the Completed Form
5 min
As soon as the contractor finishes and signs the form, you'll get an email notification.

3. Manage Shared Docs
1 min
IRS requires all requesters to keep W-9s for 4 years. Store and manage all the completed forms in one secure place.

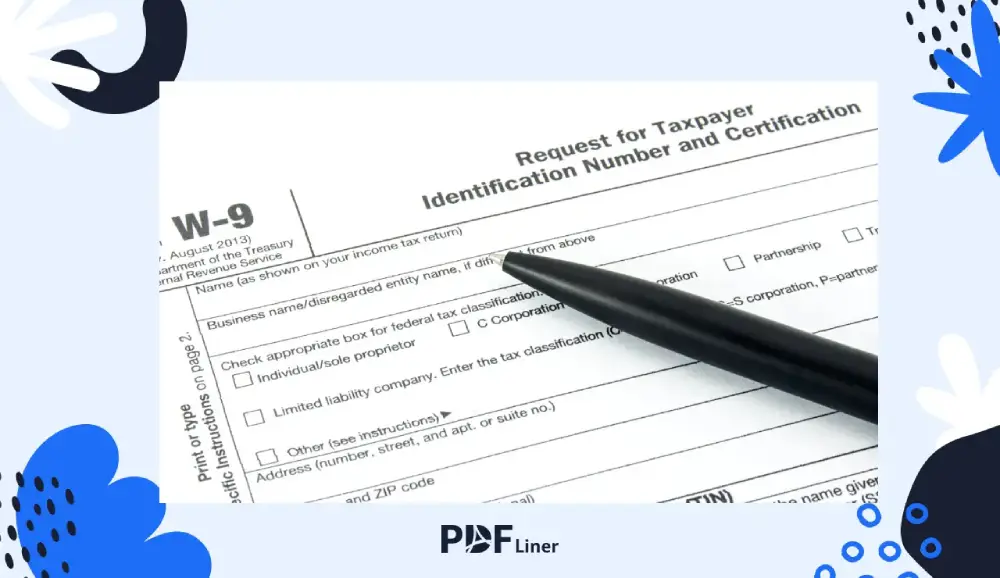
What is a W9 form used for?
The W9 tax form is used to provide your Taxpayer Identification Number (TIN) to entities that will pay you. These entities need your information to report payments of $600 or more to the IRS. The form is commonly used for independent contractors, freelancers, and self-employed individuals.
Access the previous version of the form (Rev. October 2018).
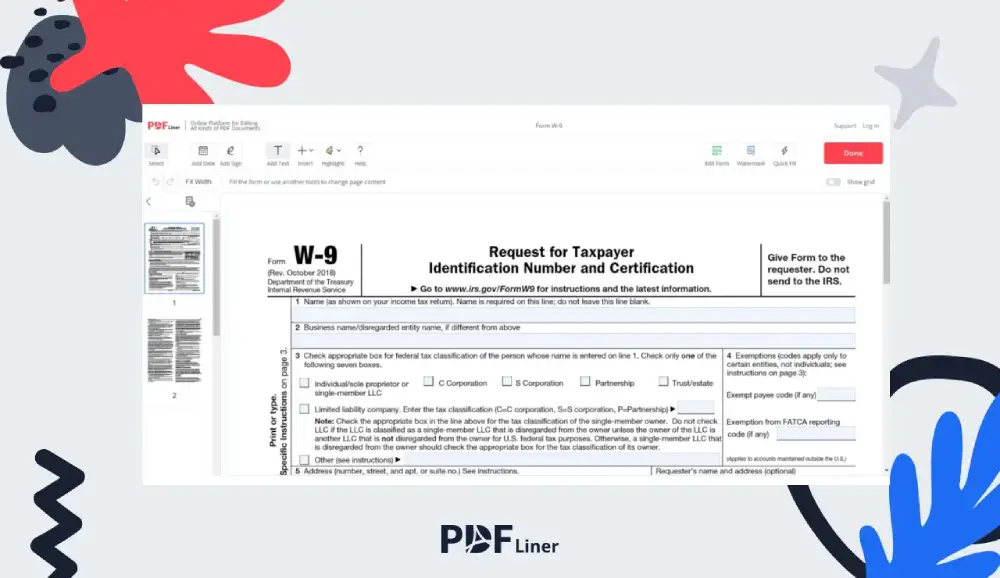
How to Complete W-9 Form Online
The W-9 form, officially known as the "Request for Taxpayer Identification Number and Certification," is crucial in U.S. business operations. Here's what you need to know:
Purpose:
🔹 Collects tax information from contractors and freelancers.
🔹 Payments of $600 or more annually are required.
🔹 Helps businesses accurately report payments to the IRS.
Key Information Requested:
🔹 Name and business entity type.
🔹 Taxpayer Identification Number (TIN) or Social Security Number (SSN).
🔹 Address and tax classification.
Our Solution:
🔹 Easy-to-use digital W-9 forms.
🔹 Simple and secure sharing of the form.
🔹 Safe information collection and storage.
W-9 Form Filing: Tax Season 2024
The W9 form fillable 2024 version is particularly useful for freelancers, contractors, and businesses. Filling out the editable W9 form has never been easier. Open the W9 form, input your information, and print or share it directly. Our tools cater to users who need a printable W9 form and those who prefer secure digital storage and sharing.
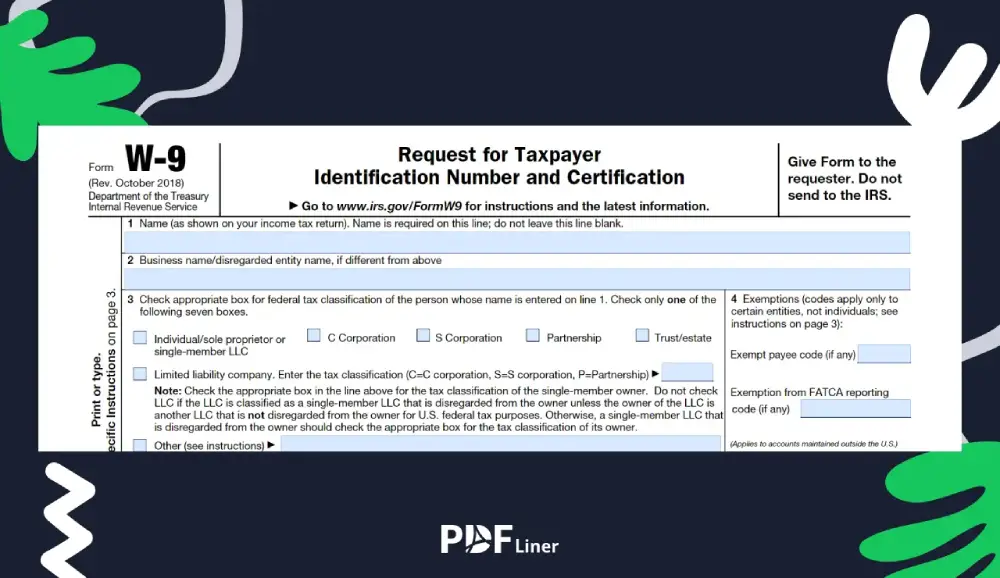
How to Fill Out W9 Form
01. Enter Your Information:
- Line 1: Your name is shown on your income tax return.
- Line 2: Business name (if applicable).
- Line 3: Select your federal tax classification (e.g., Individual/Sole Proprietor, Corporation).
- Lines 5-6: Your address details.
02. Provide Tax Identification Number (TIN):
- For individuals, this is usually your Social Security Number (SSN).
- For businesses, it would be your Employer Identification Number (EIN).
03. Complete Certification:
- Sign and date the form to certify that the information is accurate.
04. Submit the Form:
- Send the completed W-9 to the requester (the party that requested it) and keep a copy for your records.
Important Considerations
- 🟩 The W-9 does not need to be filed with the IRS; it is strictly for record-keeping between you and the requester.
- 🟩 If you refuse to provide a W-9, payments may be subject to backup withholding at 24%.
- 🟩 Ensure all information is accurate to avoid penalties or issues with tax reporting.
By following these steps and utilizing available online resources, you can easily complete and manage your W-9 form requirements.
Benefits of Using Our Fillable W-9 Form
Choosing our online W-9 form offers multiple advantages for U.S. taxpayers:
Ease of Use:
Our user-friendly, fillable W-9 form streamlines the entire process. No more tedious paperwork – complete your form quickly online.
Secure & Reliable:
Rest assured that your personal information, including your SSN or TIN, is managed securely throughout the process.
Time Efficiency:
With an intuitive interface, our download W9 form is optimized for speed, helping freelancers, contractors, and businesses meet tax deadlines without hassle.
Flexible Options:
Whether you prefer a digital copy or a printed version, our w9 tax form printable feature gives you the freedom to choose the format that best suits your needs.
Cost-Effective:
Save money by avoiding extra fees or unnecessary office visits. Our free and accessible online service lets you fill out and print your blank W9 form at no cost.
Table of contents
Secure W-9 Handling at Your Fingertips
Fast-track your tax compliance by filling out, sending and keeping your W-9 safely.
Related Documents


Fill out, sign and send your W-9 in just 3 minutes